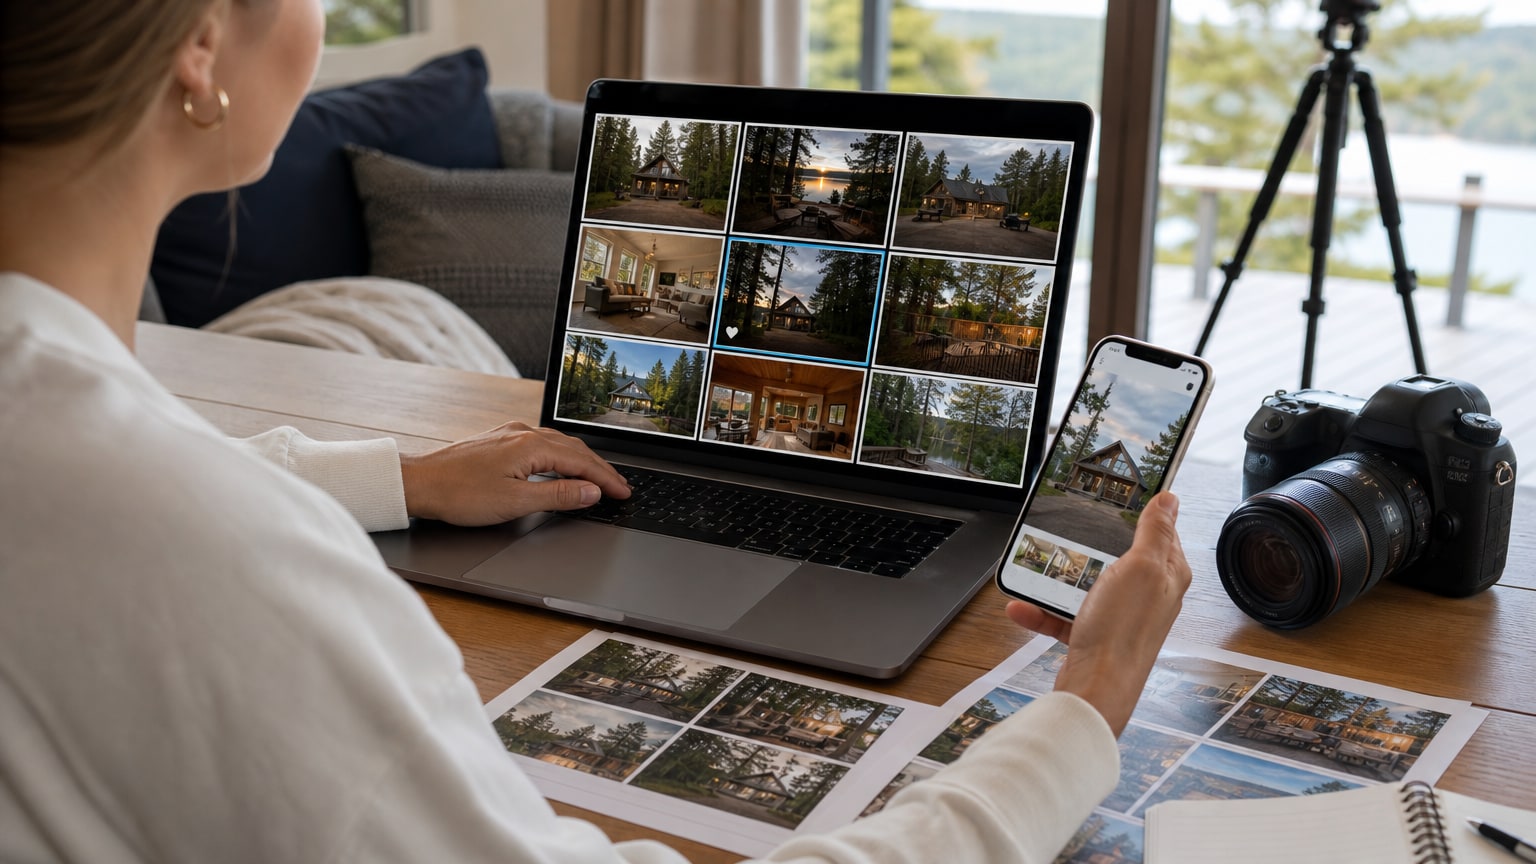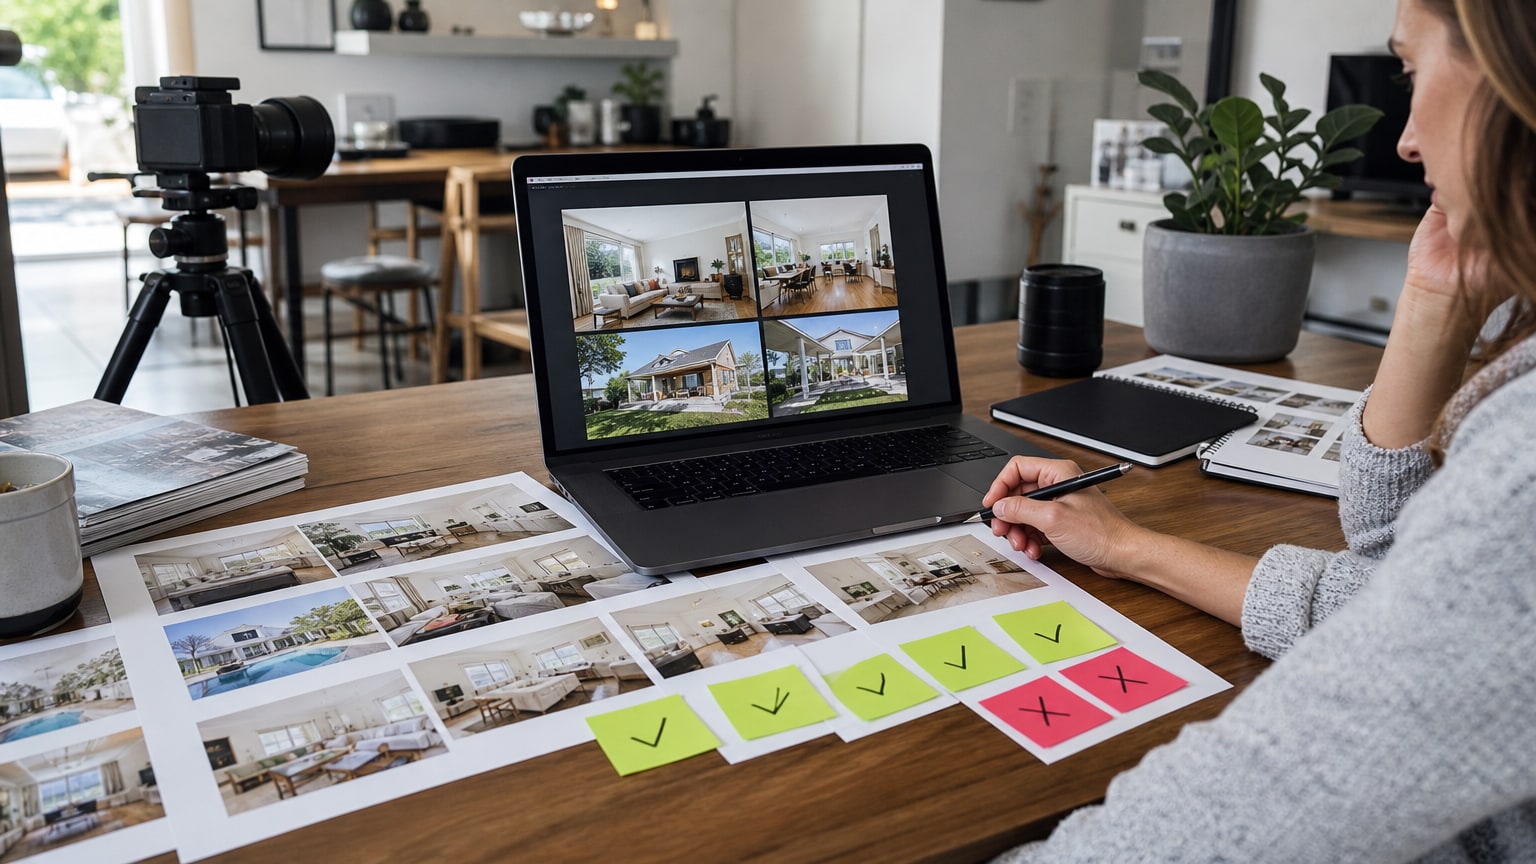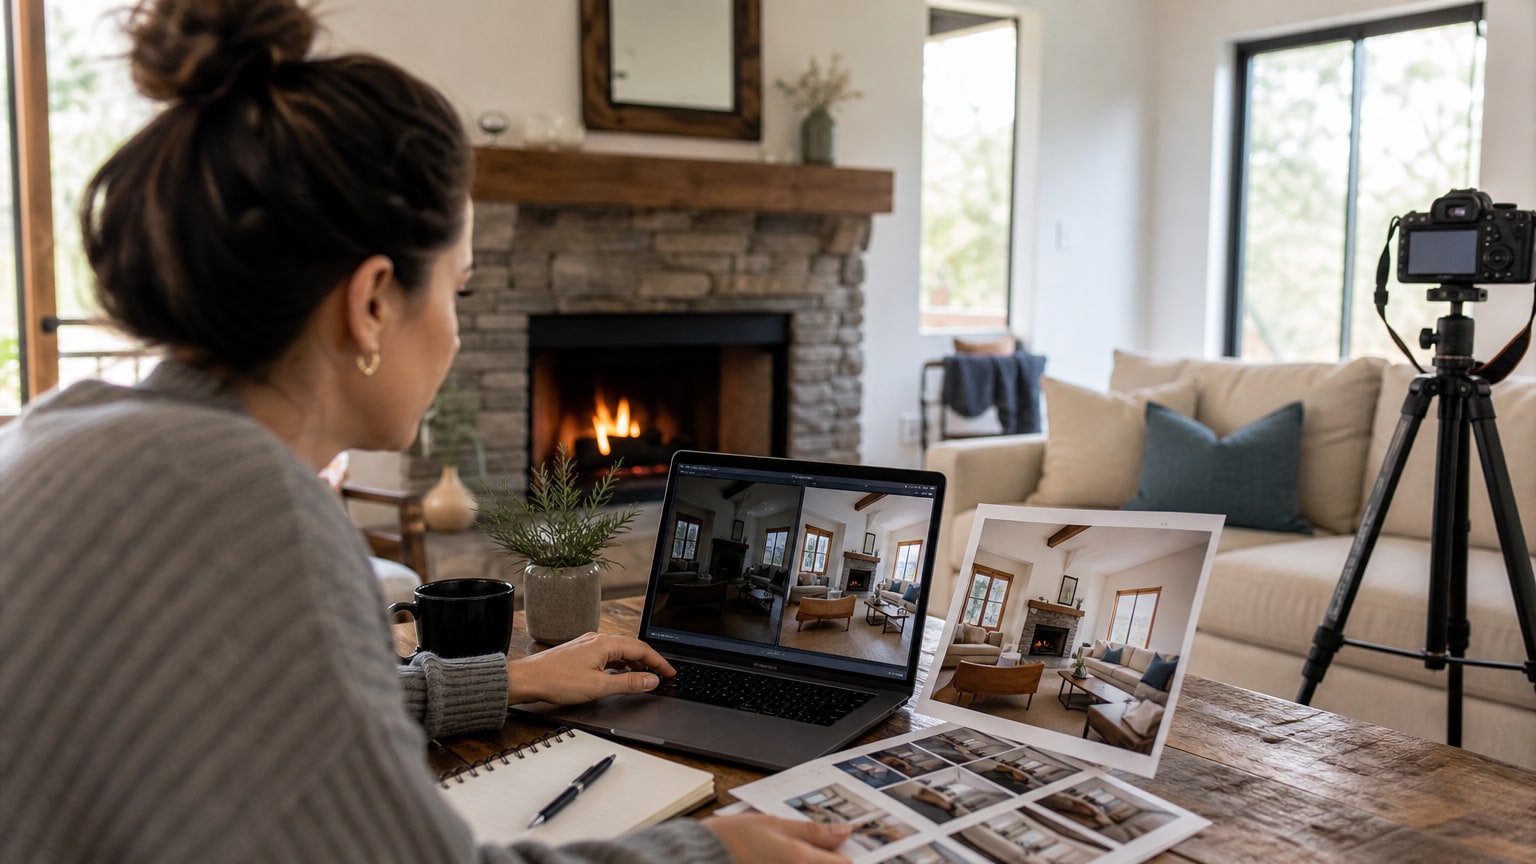
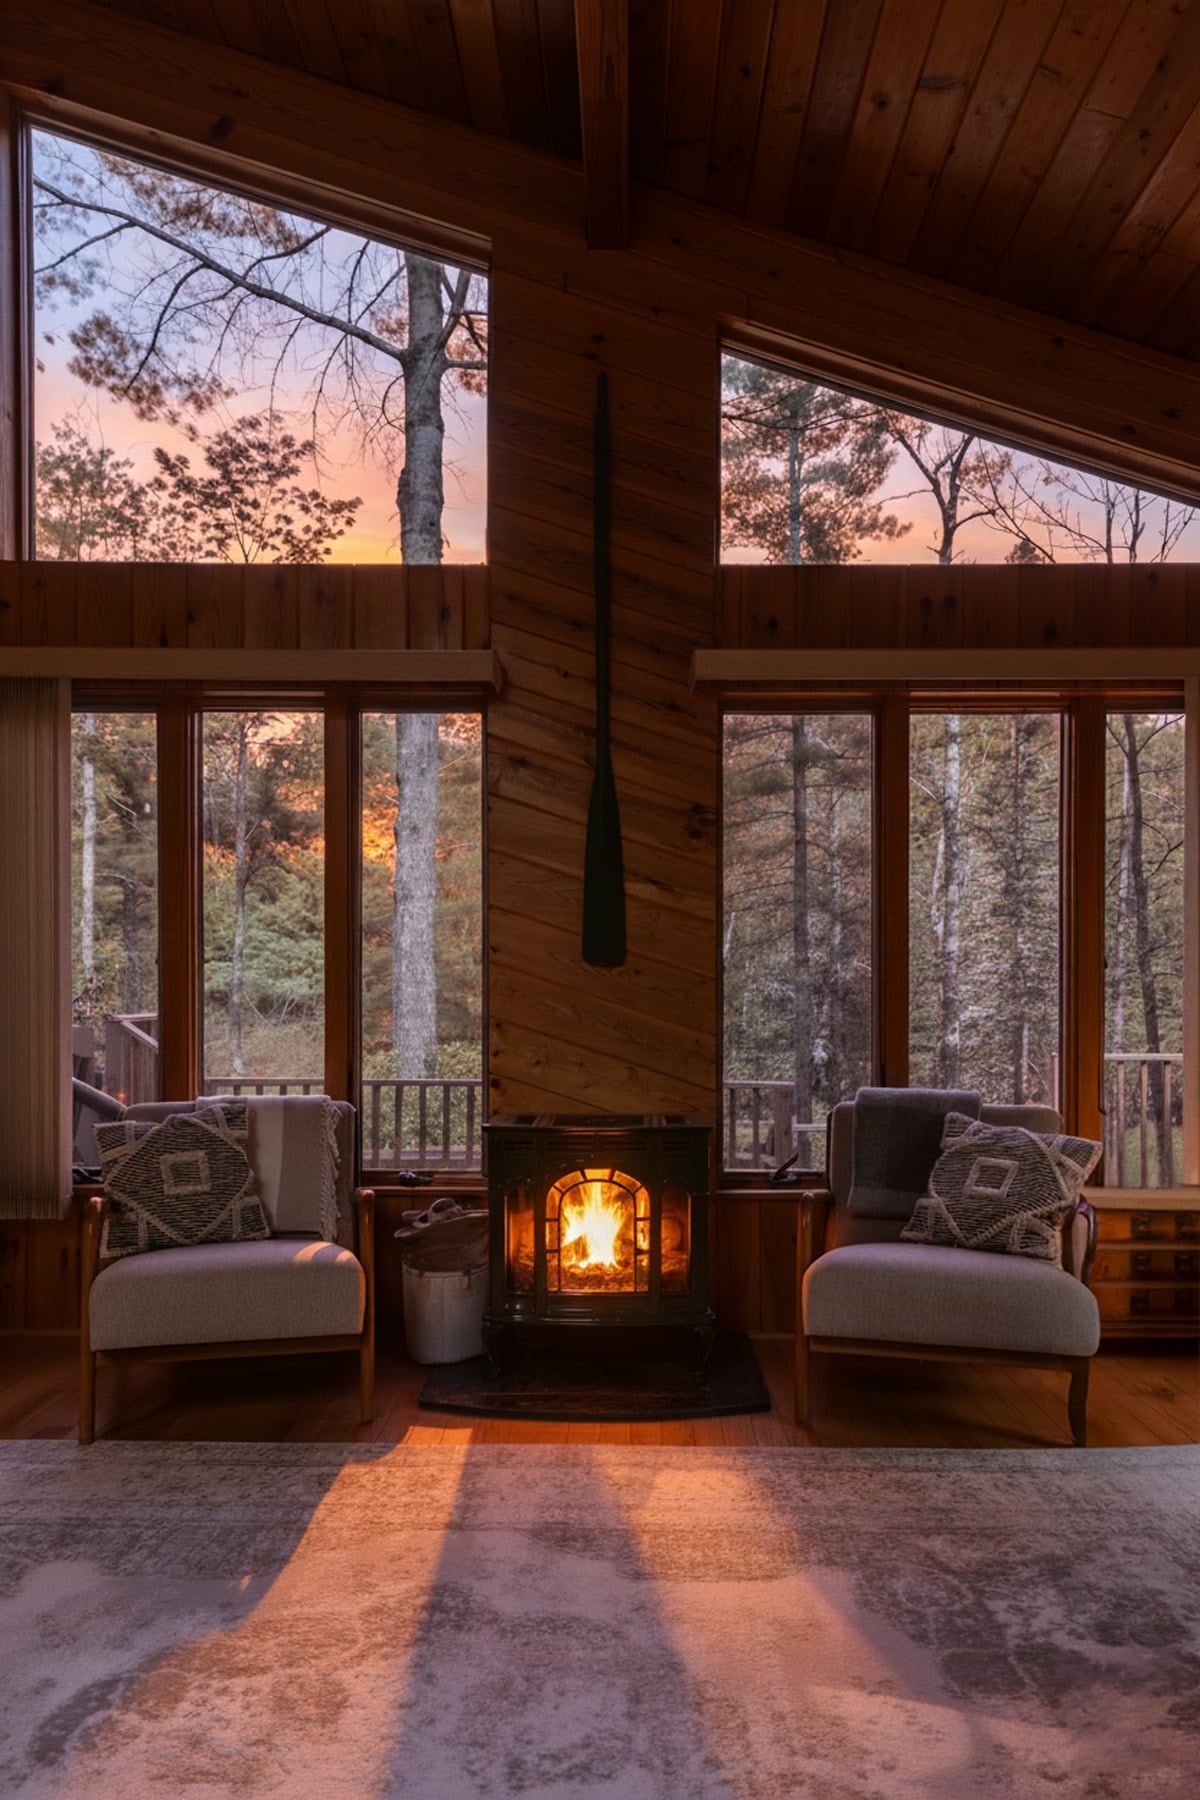
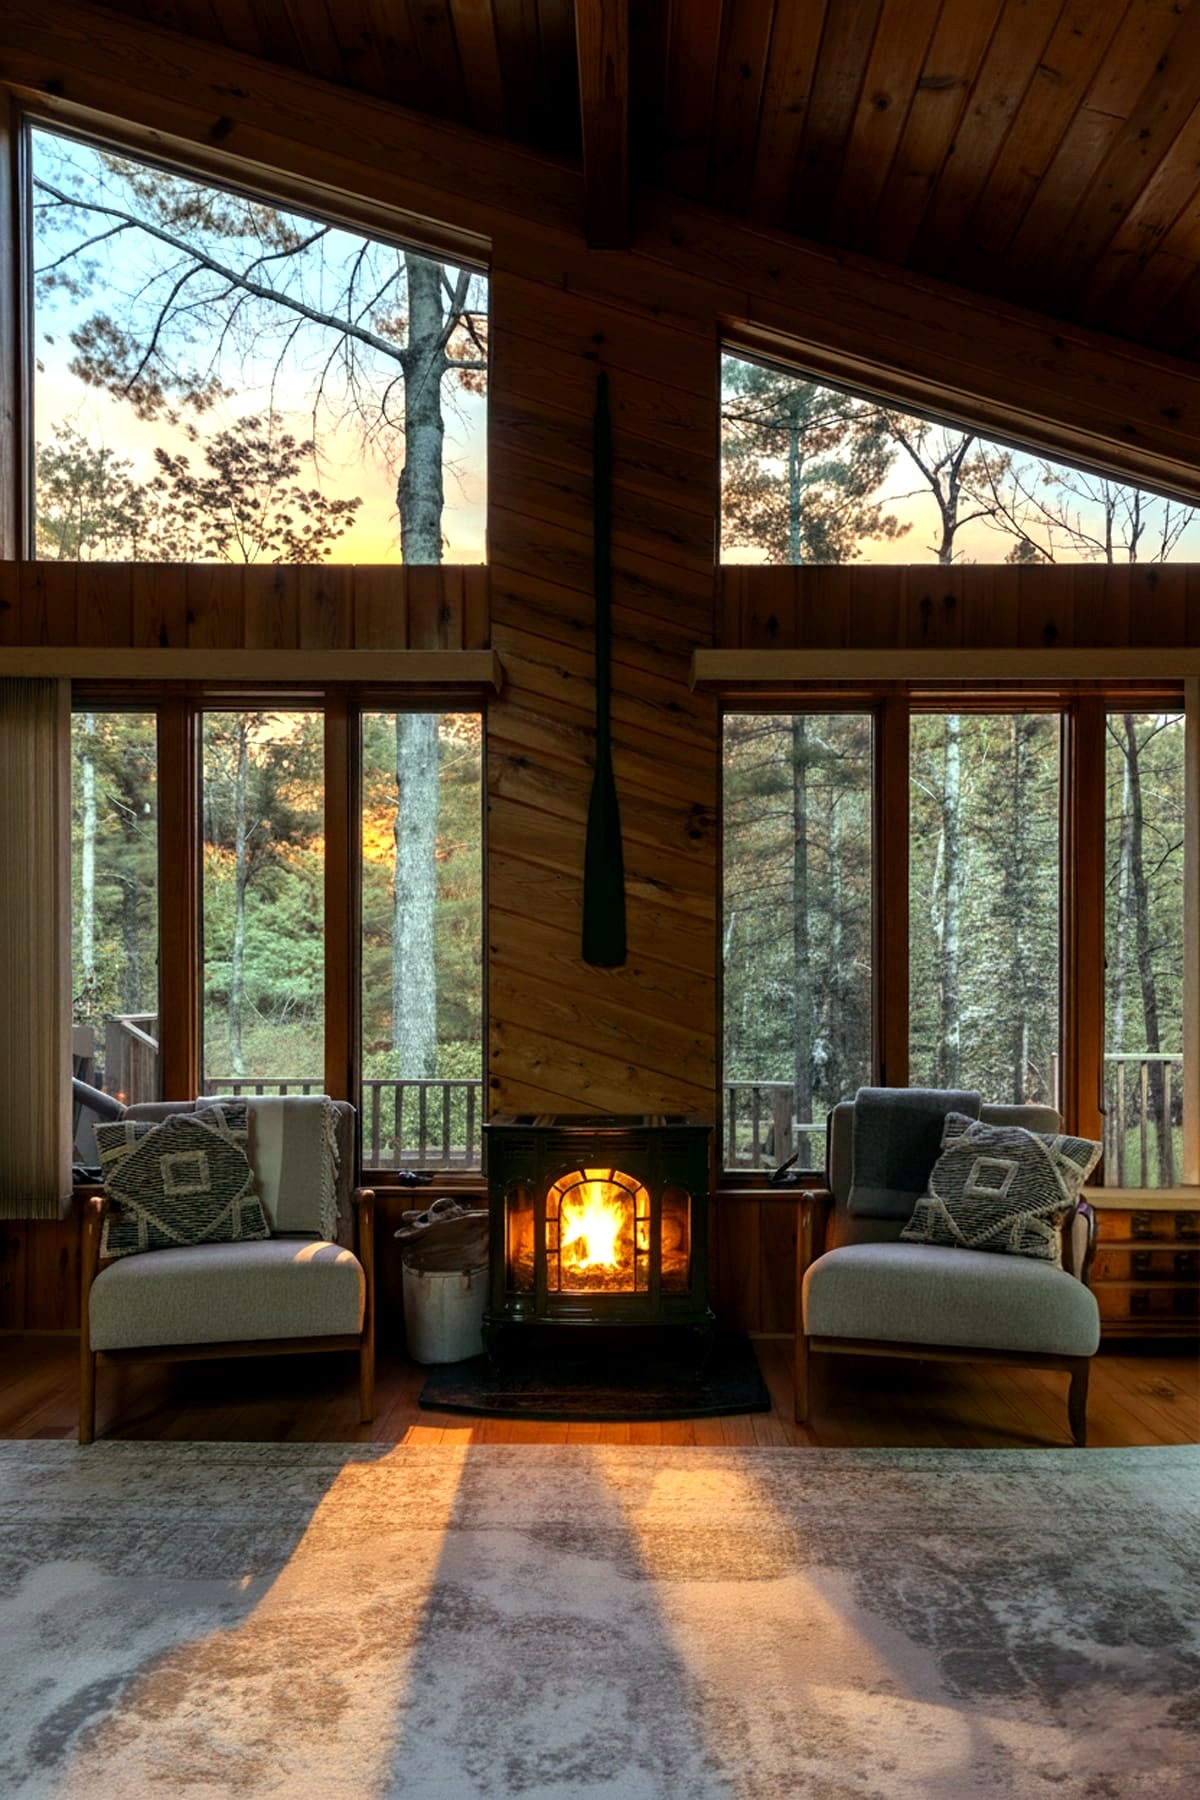
Start with the real light that is already there.
A dark photo does not need to become a different room. The first pass should recover what the camera underplayed. That usually means window light, lamp warmth, shadow detail, and the natural shape of the space.
For short-term rentals, this matters because guests are not buying a mood board. They are deciding whether the real stay is clear enough to trust.
- Lift exposure without flattening the room.
- Correct cold or mixed color.
- Recover shadows around corners and furniture.
- Straighten obvious tilt.
Watch for the line between brighter and misleading.
The edit goes too far when it changes the guest promise. A brighter room is fine. A new window view, larger-looking room, hidden damage, or added fireplace glow that does not exist is a problem.
The safest test is simple: would the guest feel surprised when they walk in? If yes, the image should be pulled back.
Use AI for cleanup, not invention.
AI can be helpful for believable cleanup because it understands surfaces, shadows, color, and perspective. It also needs firm limits. Listing Photo Optimizer creates review notes before generation so the protected parts of the property stay locked.
For dark images, the useful request is not 'make this luxury.' A better request is simple: make the existing room easier to understand. Do that without adding or removing permanent property details.
Fix dark interiors in the safest order.
The best dark-photo workflow starts with normal photo corrections before it asks AI to interpret anything. First lift exposure enough to reveal the real room.
Then recover shadows around furniture, corners, beds, counters, and flooring. After that, adjust white balance so lamps, wood, paint, and linens look believable.
Only after those basics should the edit consider stronger styling. This protects the listing because it starts from measurable image problems, not a vague request for a nicer room.
- Exposure first, so the guest can read the space.
- Shadow recovery second, so corners and walkways are visible.
- White balance third, so materials still look real.
- Perspective and crop last, so the room does not feel larger.
Preserve windows, lamps, and room edges.
Dark Airbnb photos often fail around the same sensitive areas: windows, lamp shades, ceiling lights, mirrors, fireplaces, and far corners. Those areas carry a lot of guest information.
A blown-out window can hide a poor view. An invented glow can suggest a fireplace or lighting setup that is not really there.
A safe edit can make existing lights feel warmer and windows easier to read. It should not invent a sunny view, add a lamp, remove a neighboring building, or erase a wall edge.
Match brightness across the whole gallery.
One brightened photo can look good by itself and still hurt the listing if the rest of the gallery feels unrelated. Guests compare the first five images quickly.
If the cover photo looks warm and polished but the next rooms look cold or oddly colored, the gallery creates friction instead of confidence.
After fixing the darkest images, review the full set in order. Bedroom, kitchen, bathroom, living room, exterior, and amenity photos should feel like one honest property.
- Keep white walls and linens consistent.
- Avoid making one room much warmer than connected rooms.
- Do not over-brighten windows in only one image.
- Use the same crop discipline across the lead photos.
Use a before-and-after review pass.
A safe dark-photo edit should be reviewed against the original before it is uploaded. Look for changes that are easy to miss when the final image is attractive.
Check whether furniture edges shifted, rugs changed shape, lamps became too bright, outdoor details disappeared, or small damage got hidden.
This is why a review-first workflow matters. The goal is not only to make the after image look better. The goal is to make the after image useful, clickable, and still accountable to the source photo.
Write edit instructions that protect the property.
Hosts get better results when the instruction names what should improve and what must stay fixed. Instead of asking for a dramatic upgrade, describe the real issue.
The bedroom may be too dark. The kitchen may be too cold. The living room may have tilted vertical lines. The cover photo may need more contrast at small size.
Then list the protected details: same furniture, same view, same fixtures, same window layout, same flooring, same access, and no added amenities. That gives AI enough room to improve the image while keeping the booking promise intact.
- Good: brighten the existing room and keep the same layout.
- Good: correct the color cast without changing wall or cabinet colors.
- Risky: make this look like a luxury cabin.
- Risky: make the room feel bigger or add nicer outdoor scenery.
Make sure the photo still answers guest questions.
A bright Airbnb photo should still answer the same practical questions as the original. Guests use listing photos to understand where they will sleep and how much room they have.
They also look for window direction, seating, kitchen function, and signs that the property feels cared for. If the edit removes those answers, it is not a better listing photo.
Review the final image like a guest with a short attention span. Can they understand the bed placement, traffic path, windows, storage, seating, and main surfaces?
Can they still tell whether the room is cozy, open, rustic, modern, or simple? The strongest dark-photo edits improve trust because they reveal truthful detail.
Run a quick host checklist before upload.
Before uploading the edited photo, compare it with the original at full size and thumbnail size. The full-size check catches accuracy problems. The thumbnail check catches weak listing impact.
Keep the edited image only when it passes both checks. If it looks truthful but still dull, use a lighter crop or choose a better source photo.
- Same room and same guest promise.
- Clearer light without fake glow.
- Readable layout at thumbnail size.
- No hidden damage or invented view.
Know when editing is not enough.
Some photos are bad candidates. If the image is blurry, strongly vertical, heavily cropped, or missing the main room, reshoot it. A setup guests will not receive is also more honest to reshoot than to repair with a heavy edit.
Editing works best when the source photo is accurate but undersells the property.
A quick reshoot can also be faster than trying to rescue a weak file. Poor focus, blocked room context, and crops that cannot support Airbnb's landscape gallery layout are common signs.
FAQ
Can AI brighten an Airbnb photo without changing the property?
Yes, when the edit is limited to exposure, color, contrast, clarity, and mild perspective correction. It should not add amenities, views, furniture, or a different room mood that the property cannot support.
Should I edit dark photos or reshoot them?
Edit when the photo is accurate but underlit. Reshoot when the photo is blurry, too cropped, missing the room context, or showing a setup guests will not actually receive.
Source notes
Keep reading
- vacation rental photo editing Use the broader editing guide to decide which photos are safe candidates.
- Medium optimization examples Compare the type of warmer room cleanup that fits many dark interior photos.
- Airbnb photo size and resolution Confirm whether the source file is strong enough before asking an edit to rescue it.
- start a listing photo order Upload a real gallery for review-first optimization.